
Docs /Getting Started
Modes & Settings
Switching Between Modes
LeaRes’s dual-mode system lets you move between the medical and engineering workflows using a single toggle.
The mode toggle
The mode toggle (#panel-mode-toggle) sits at the top of the Projects and Patients window — not in the top toolbar. It is a single icon button, not a dropdown.
- While in medical mode, its tooltip reads “Switch to engineering projects”. Clicking it moves you to the engineering workflow.
- While in engineering mode, its tooltip reads “Switch to medical records”. Clicking it returns you to the medical workflow.
The toggle appears only if your account has access to both patients and projects.
What changes after switching
- The ActionsTree updates to show the appropriate hierarchy (patients vs. projects).
- The toolbar adjusts to display the tools relevant to the active mode.
Note: Switching modes changes which workflow you are working in; it does not delete data. The bridge between the two worlds is explicit — for example, a segmented anatomy can be turned into an engineering project via Store selection as project in the Segment and Reconstruct panel.
Settings Panel
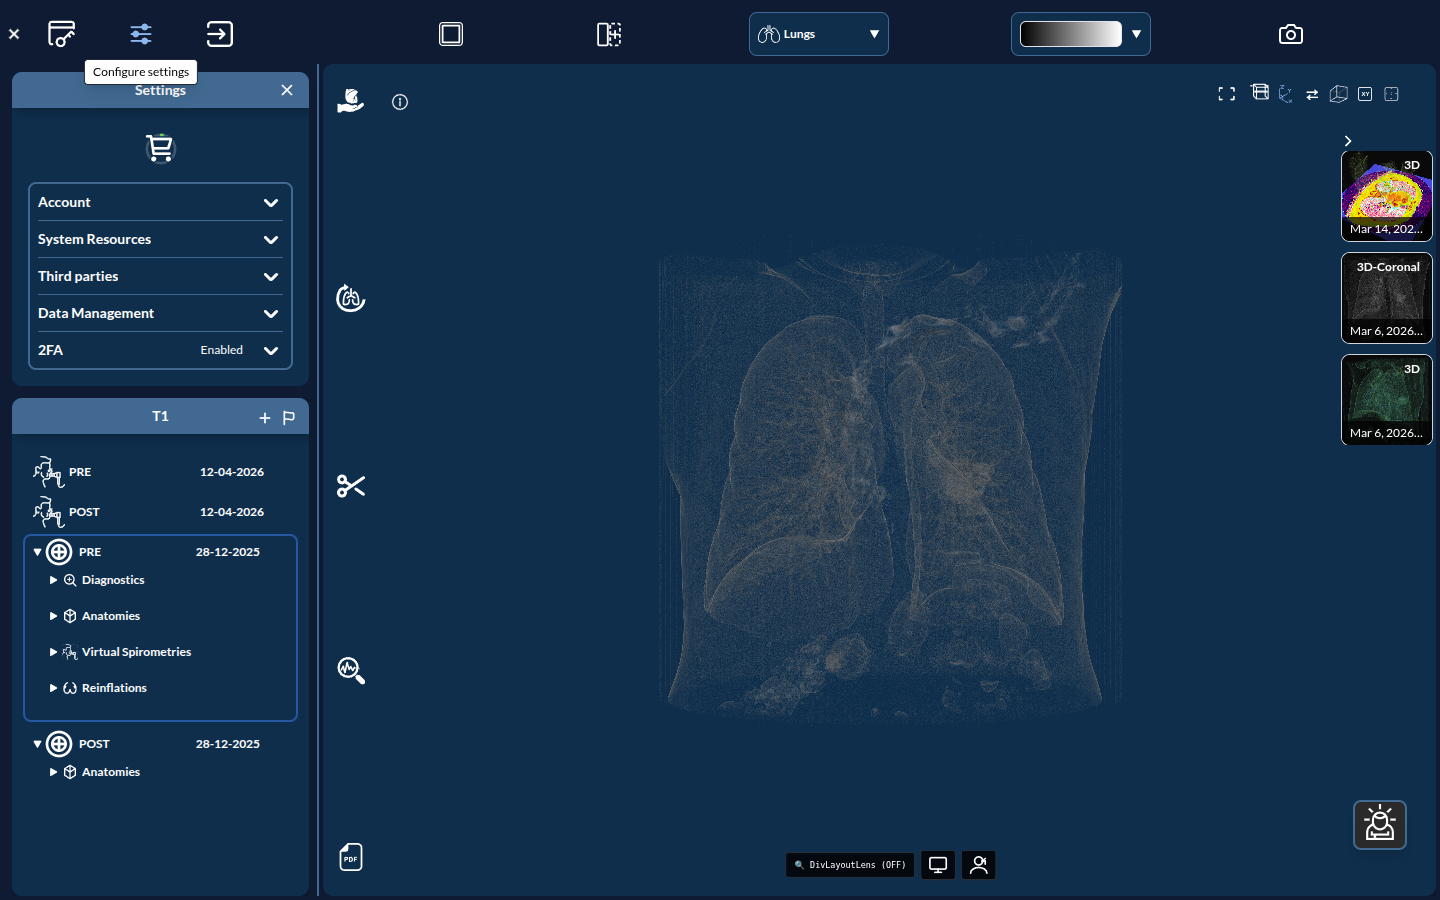
Open the Settings panel from the toolbar (#settings-button). It groups account, system resources, third-party connections, data management, theme, language, and two-factor authentication. The cart icon inside this panel opens the Recharging Station — see Account, Tiers, and Credits.
Theme Customization
LeaRes ships four themes. Choose one with the Theme selector in the Settings panel.
| Theme | Background |
|---|---|
| Light | White |
| Dark Blue | Light blue |
| Dark Monochrome | Grey — raises perceived contrast on medical images |
| Darker Monochrome | Near-black — maximum contrast |
The two monochrome themes exist for medical image review, where a neutral background makes density differences easier to read.
Theme in the 3D Viewer
The VTK.js renderer adapts to your theme choice:
- Light: lighter background, dark edges on geometry
- Dark themes: dark background, lighter edges for contrast
Accessibility: Dark mode can reduce blue light exposure during extended work sessions.
Two-Factor Authentication
Two-factor authentication (2FA) is configured in the Settings panel and uses a TOTP authenticator app.
To enable it:
- Choose Set up two-factor authentication
- Scan the QR code with your authenticator app, or use Copy secret key to enter it manually
- Enter the 6-digit code and choose Verify code and activate MFA
- Download the backup codes and store them somewhere safe, then confirm you saved them
Backup codes let you sign in if you lose access to your authenticator. The panel shows how many remain, and Regenerate backup codes issues a fresh set (invalidating the old ones).
To turn 2FA off, use Disable two-factor authentication — it asks for both your password and a current code.
Note: Backup codes are shown only once, at activation or regeneration. If you lose them and your authenticator, you will need an administrator to recover the account.
Notifications
The notifications area (bell icon) surfaces system messages such as:
- Simulation completion alerts
- AI segmentation results
- Long-running job status updates
Click the icon to review the notification history.
Common Navigation Patterns
Loading Patient Data
- Open the Projects and Patients window (shown at login) and select a database.
- Double-click a patient to open it.
- Click an event/series (e.g.,
PRE,POST,torso) to load it in the viewer. - Open Segment and Reconstruct from the toolbar to segment and overlay anatomy.
Loading Project Geometry
- Select a database, then double-click a project to open it.
- Double-click a version (e.g.,
version_0) to load its geometry into the viewer. - Expand Materials, Boundaries, and Simulations to work on the device.
Troubleshooting Navigation Issues
Sidebar Not Responding
If the ActionsTree becomes unresponsive:
- Check the console (F12 → Console tab) for errors
- Refresh the page (F5) to reload the interface
- Clear the browser cache if issues persist
3D Viewer Blank or Frozen
If the GView doesn’t render:
- Verify WebGL support: visit
chrome://gpu(Chrome) orabout:support(Firefox) - Update graphics drivers: ensure GPU drivers are current
- Disable browser extensions: some ad-blockers interfere with WebGL
- Try a different browser: test in Chrome, Firefox, or Edge
Note: Some advanced rendering features, such as Surface LIC for vector flow, require WebGL2.
Data Not Loading
If clicking items doesn’t load data:
- Check connectivity to the backend and database
- Verify you’re logged in (your session may have expired)
- Re-select the database in the Projects and Patients window
- Contact support if specific datasets fail consistently