
Docs /Engineering Workflow
Implanting Parametric Devices
Beyond importing a vessel or airway geometry, LeaRes can generate a medical device directly inside your project and place it in the anatomy for you. These parametric devices — catheters, stents, occluders, valves, cannulae, airway tubes, and drug-delivery sources — are added as extra geometries and become part of the flow simulation, so you can study how an implant changes pressure, velocity, and particle transport before going to the bench or the patient.
Devices are created from clinical parameters (diameter, French size, porosity, valve state, …) and snapped onto the project’s centerline, so you do not need a CAD model for the implant itself — only the host anatomy.
Prerequisites
Before adding a device you need:
- A project with a geometry — the host anatomy (e.g. an aorta, a trachea), imported as described in Importing Geometry and Importing from OnShape and Anatomy.
- A centerline on that geometry. Parametric devices are placed along the centerline, so extract one first (Centerline panel). While the device library is open, the project’s centerlines are shown in the 3D viewer so you can see where the implant will sit.
Opening the Device Library
In the project (engineering) workspace, open the Geometries entry in the Actions tree on the left. This opens the device library, where every device type is a labelled button grouped by clinical area.
The Device Library
The library groups devices into six sections:
General
- Import — upload your own device as a VTP or STL file (see Importing your own geometry below).
Vascular
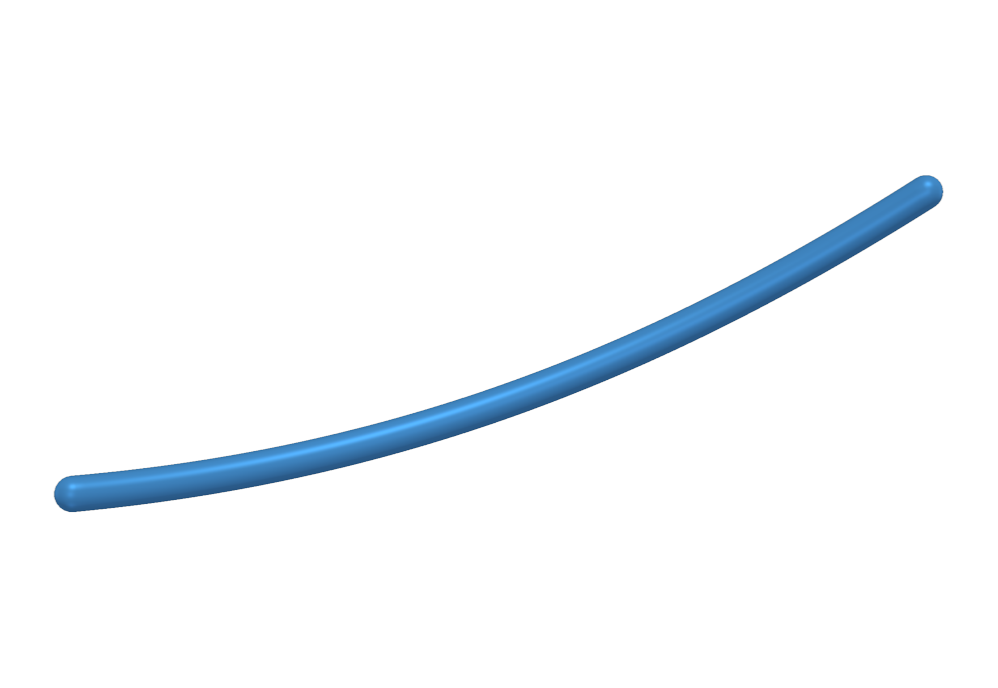
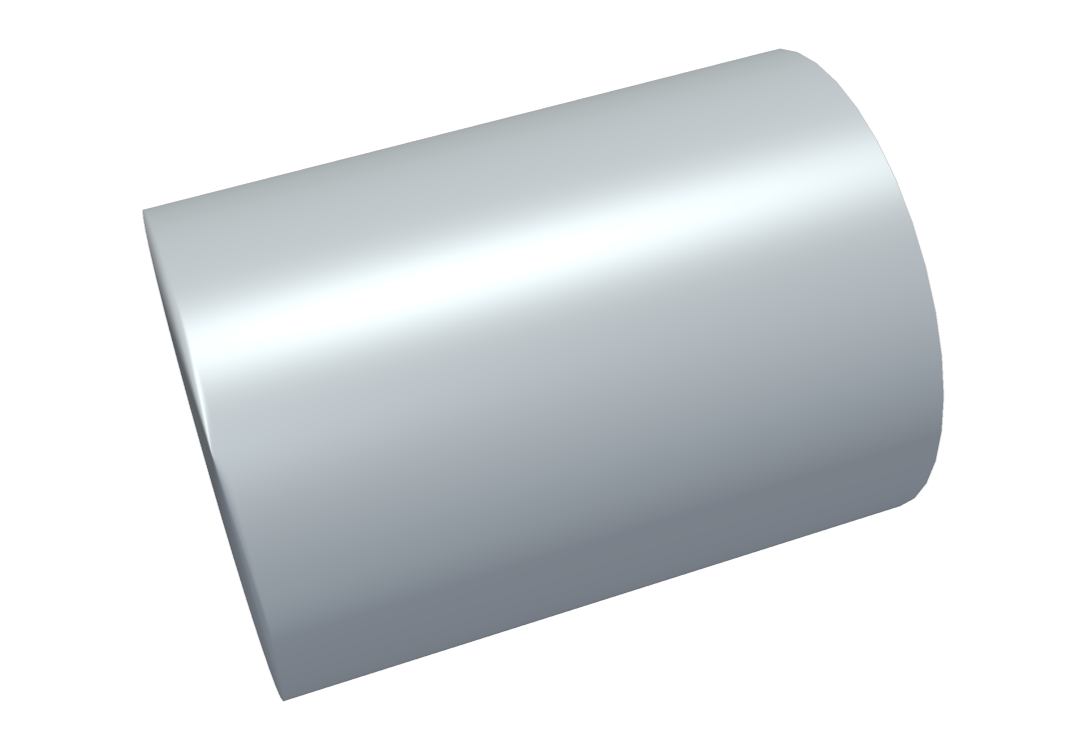
- Catheter — parametric catheter along the centerline. Set the tip shape (flat, hemispherical, tapered, J-curve, pigtail), the size (French or diameter), the lumen, and the insertion span.
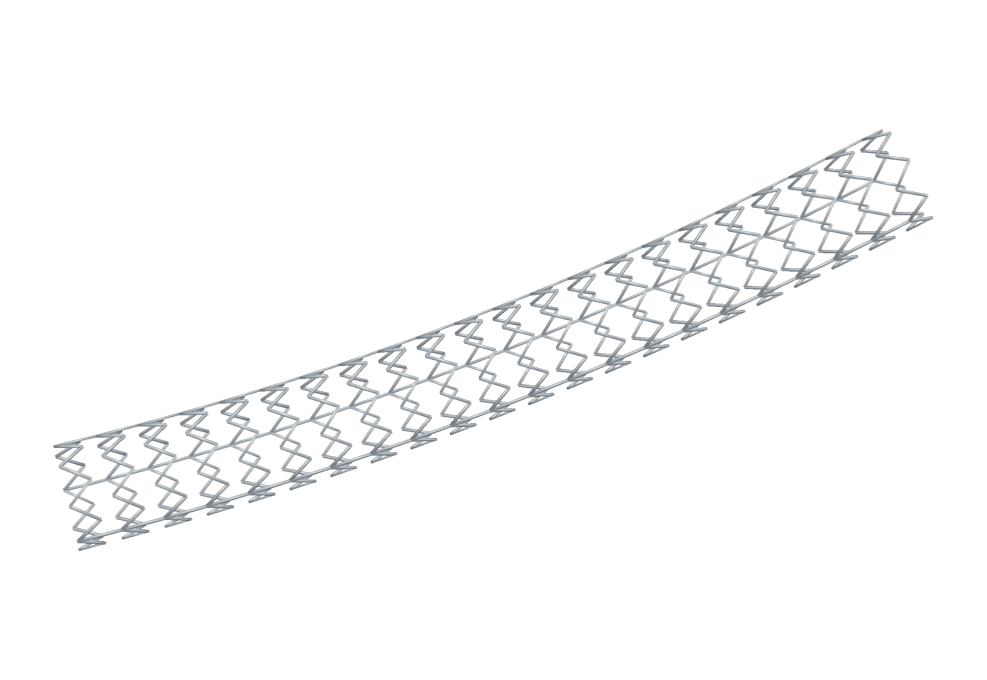
- Stent — endovascular stent scaffold. Set the diameter, the crowns and ring pitch, the cell design (open/closed), the material (CoCr, SS316L, Nitinol, bioresorbable), the expansion (balloon / self-expanding), and the type (BMS / DES / covered).
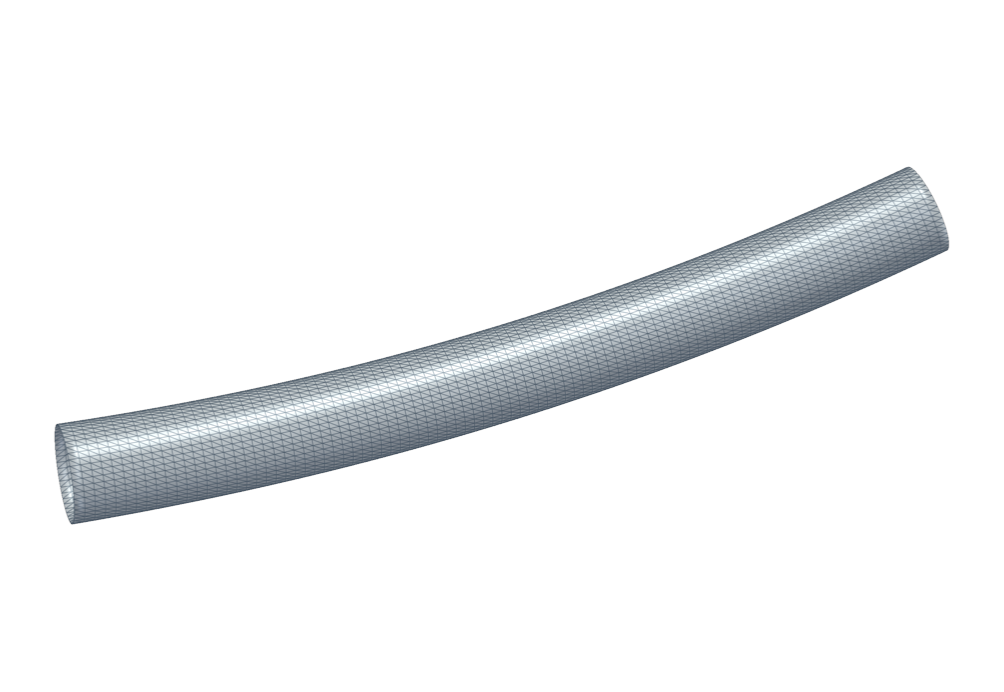
- Flow diverter — a fine braided mesh modelled as a thin porous tubular screen. You set its porosity; the porosity drives how much flow it lets through.
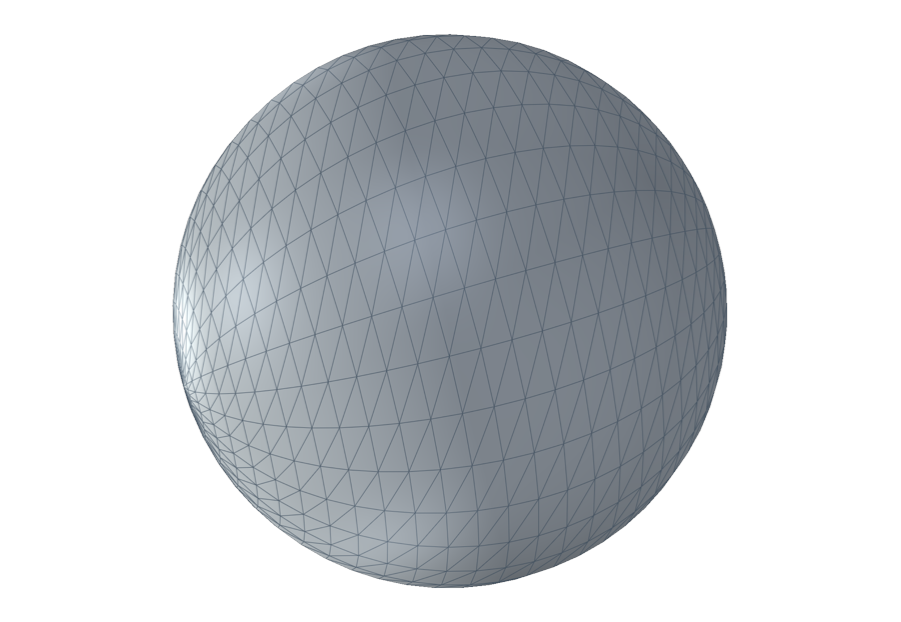
- Coil — an aneurysm-packing coil modelled as a porous sac placed at a centerline landmark. Set the sac diameter and the packing porosity.
Examples generated by the library, swept along the vessel centerline (the catheter’s rounded tip and the porous diverter mesh come straight from their settings):
Structural heart
- Stent-graft — aortic endoprosthesis: an impermeable graft wall with sparse support rings (solid obstacle). Set the aortic diameter and the number of rings.
- Septal occluder — ASD / PFO / VSD double-disc occluder with a central waist, placed at a landmark.
- LAA occluder — left-atrial-appendage occluder (Watchman-style barrel lobe).
- TAVR/TAVI valve — transcatheter aortic valve: a stent frame with three leaflets. Set the frame diameter and the valve state (closed / mid / open) to study the device across the cardiac cycle.
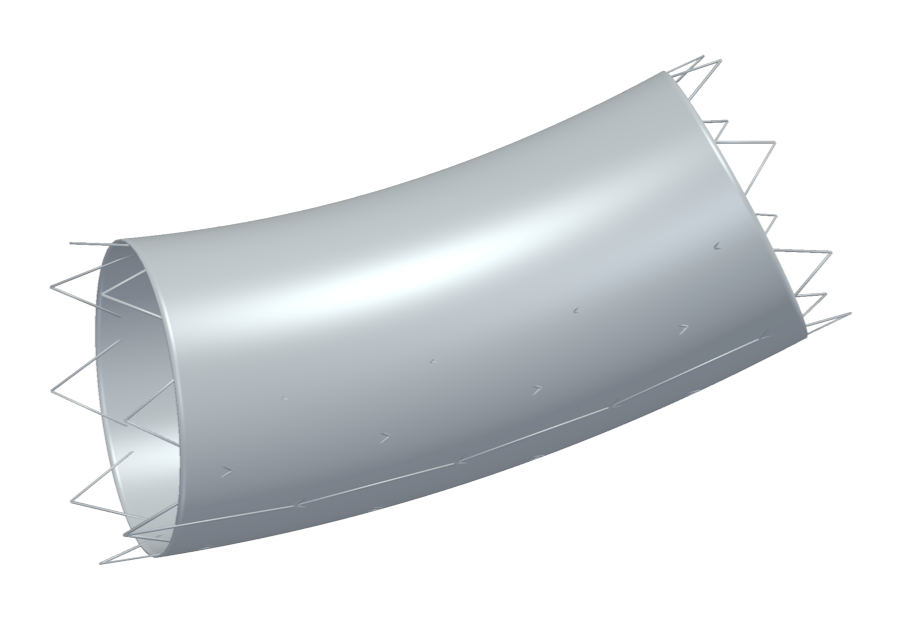
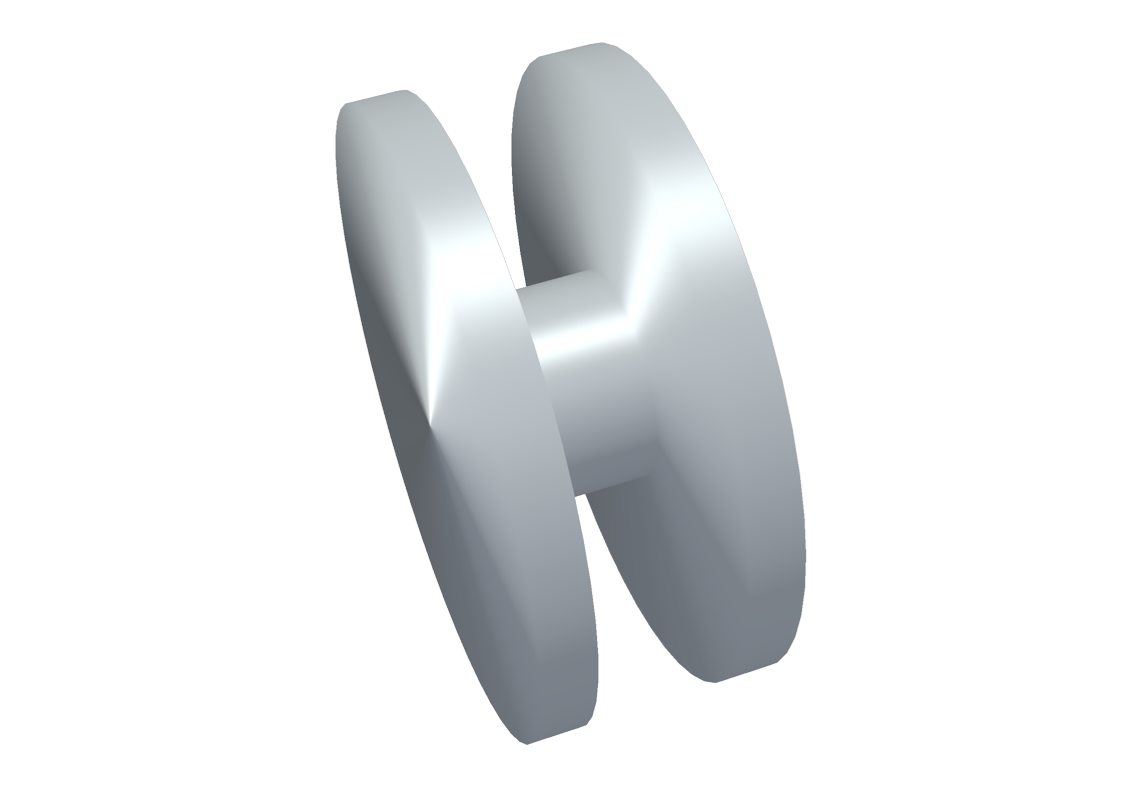
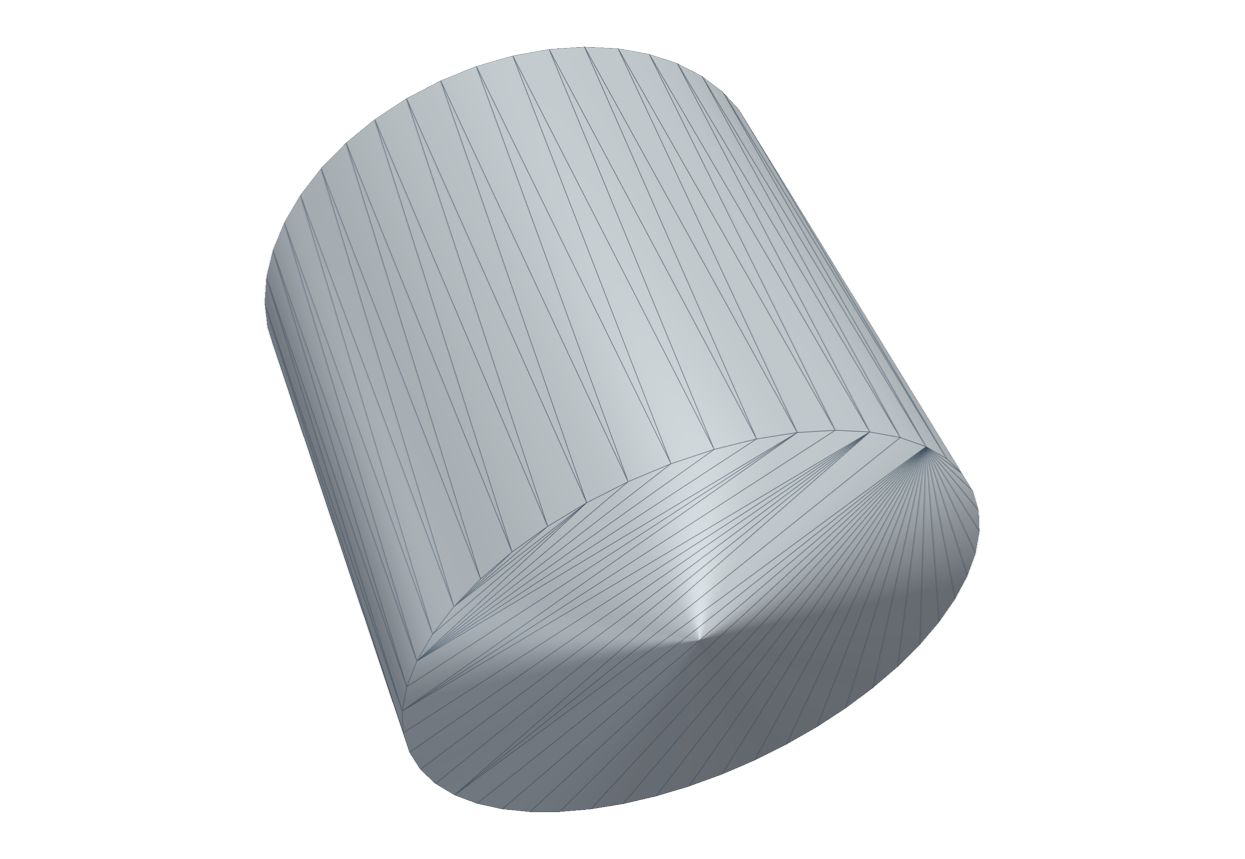
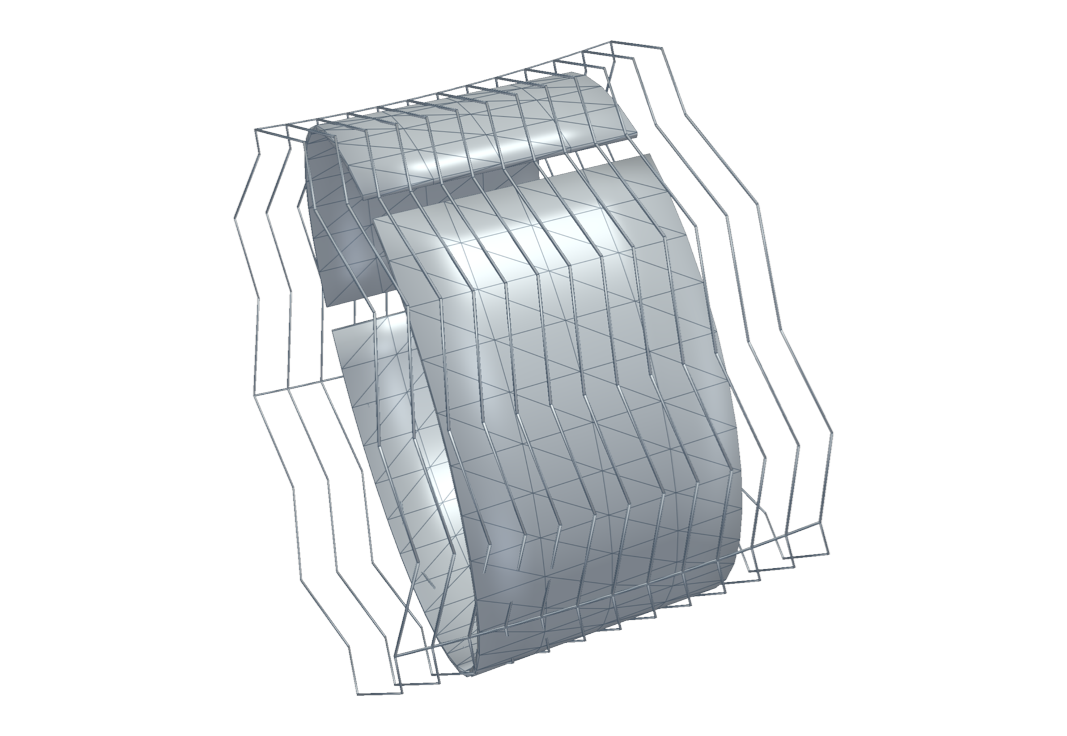
Circulatory support
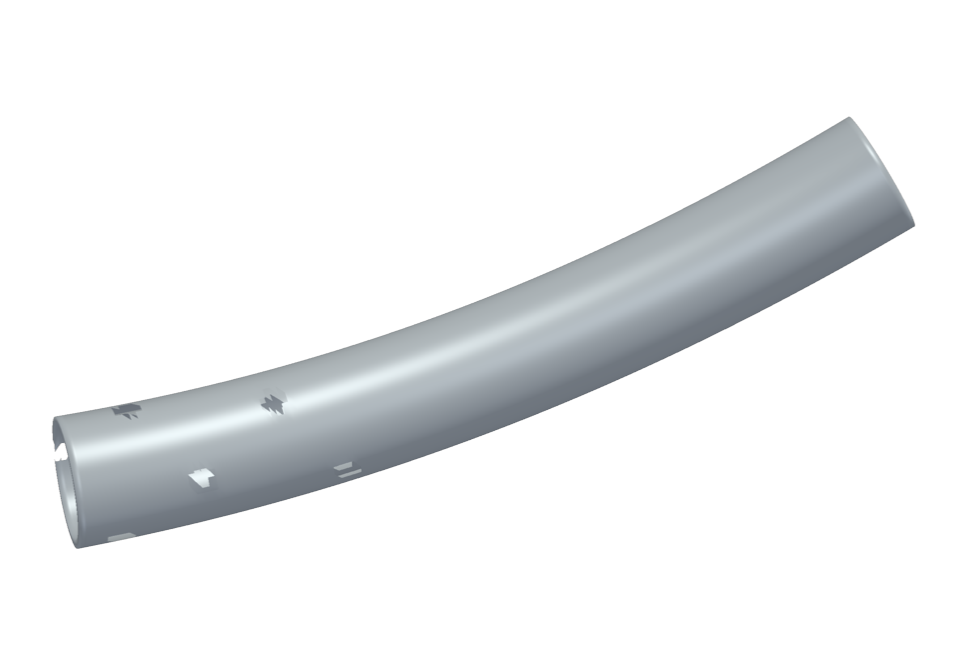
- ECMO cannula — large-bore fenestrated drainage / return cannula with side-holes. Size it in French or millimetres.
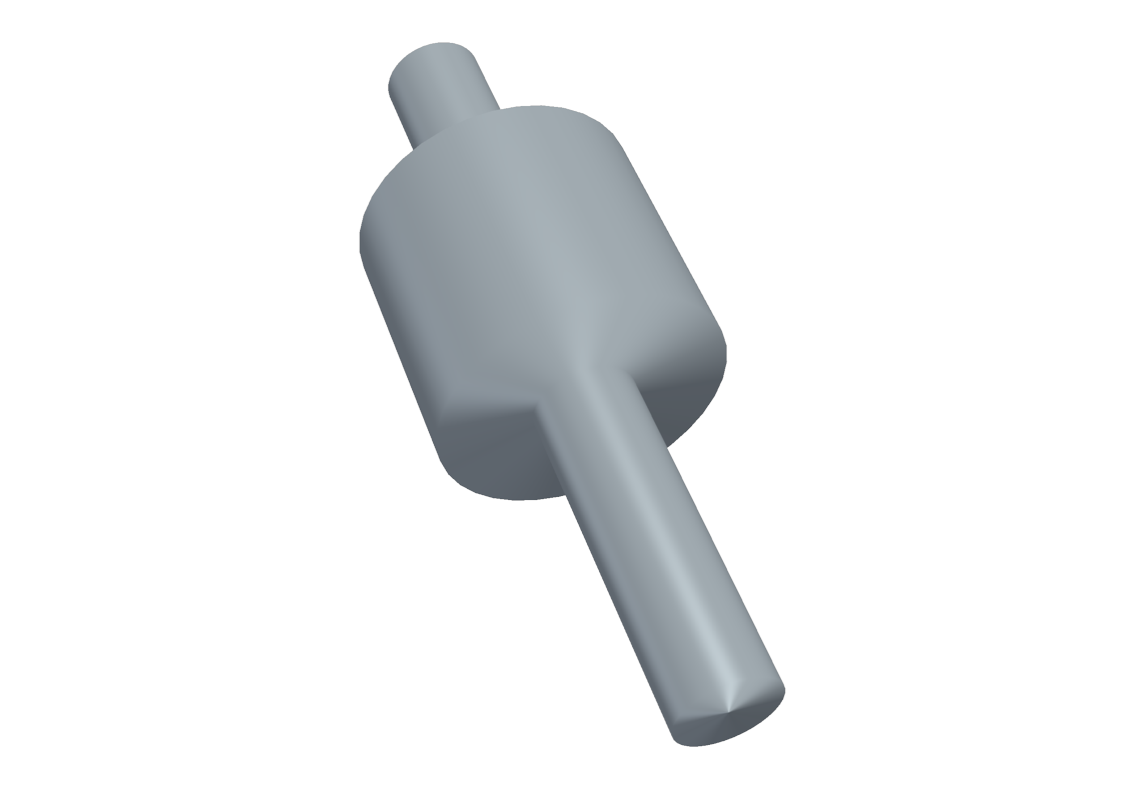
- VAD / LVAD — a pump housing with inflow / outflow cannulae. Set the pump and cannula diameters and the outflow angle.
Airway
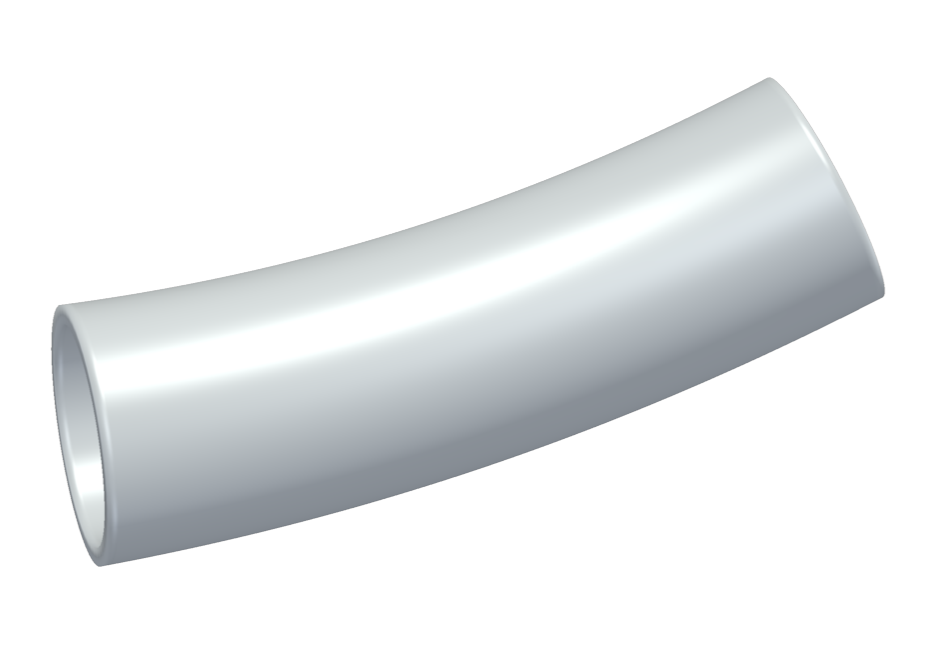
- Tracheobronchial stent — silicone (thick hollow tube) or metallic (scaffold) airway stent.
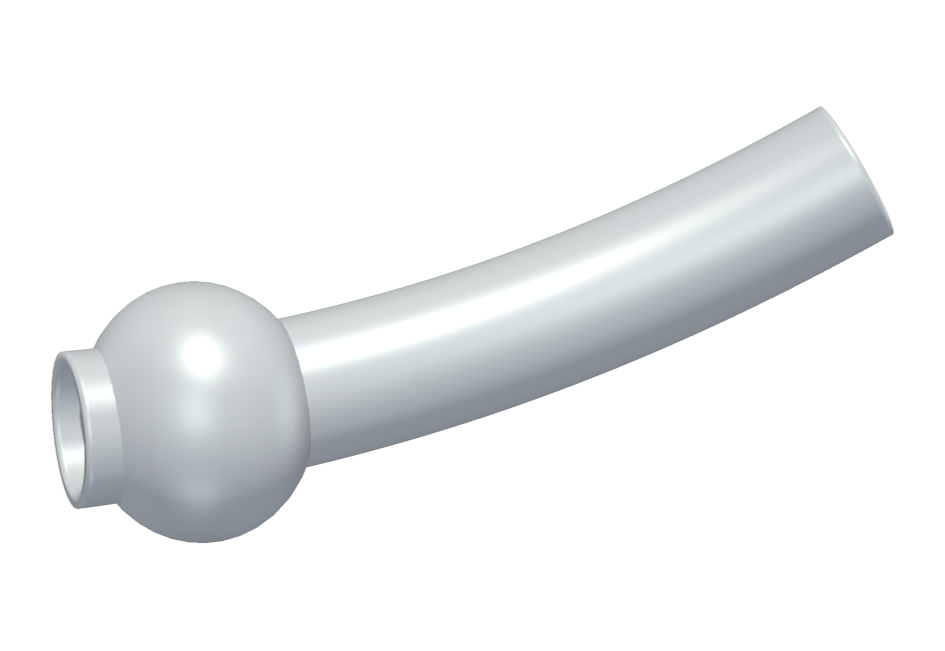
- Airway tube — endotracheal tube or tracheostomy cannula, with an optional inflatable cuff.
- Endobronchial valve — a one-way valve (housing + duckbill) for endoscopic lung volume reduction. Set the valve state (closed / open).
Drug delivery
- Aerosol source — an inhaler / nebulizer emitter (MDI, DPI, nebulizer, spacer) placed at the airway inlet. During the simulation it injects real particles so you can track where the drug deposits.
How a Device Couples to the Flow
Every device is generated with the right physical role for its type — you do not set this yourself for parametric devices:
- Solid obstacle — the device is a no-slip wall the fluid must flow around. Most devices use this role (catheter, stent, stent-graft, occluders, TAVR/TAVI, cannulae, airway stent/tube, endobronchial valve).
- Porous zone — the device lets some flow through according to its porosity, rather than blocking it completely. Used by the flow diverter and the coil, where the mesh/packing is too fine to resolve as a solid wall.
- Particle source — the device emits Lagrangian particles into the flow. Used by the aerosol source for drug-deposition studies.
Inserting a Parametric Device
- Open the Geometries panel and click the device you want (e.g. Catheter, TAVR/TAVI valve, Aerosol source).
- Set the clinical parameters in the device’s panel. Sensible defaults are pre-filled, and the insertion span / placement is calibrated to your centerline.
- Generate the device. It is placed along the centerline, stored on the project, and shown in the 3D viewer.
You can add more than one device to the same project (for example a stent inside a stent-graft) — each is stored as a separate extra geometry.
Importing Your Own Geometry
If you already have the device as a mesh, choose Import instead and upload a VTP or STL file. For imported geometries you also pick a Purpose:
- Obstacle — the mesh acts as a solid obstacle in the simulation.
- Reference — the mesh is shown for context only and is not part of the flow.
Repositioning a Device
After generating (or importing) a device you can fine-tune its placement without regenerating it. Click Reposition at the bottom of the panel to open the transform controls for the most recently added geometry, then adjust:
- Position — move the device along or across the vessel.
- Rotation — re-orient it.
- Scale — resize it.
Each works along the Along centerline, Longitudinal and Transverse axes.
Two helpers do the work for you and are usually the fastest way to seat a device:
- Best-fit — centres, orients and scales the device to the lumen diameter.
- Avoid collision — moves the device inside the lumen wall.
The viewer updates live as you drag the sliders. Reset restores the original placement; Apply persists the transform, updating the stored mesh so the simulation uses the repositioned device.
Next Steps
With the device in place, continue configuring the simulation: define the zones (inlets / outlets / walls), assign materials, and set the boundary conditions before launching the simulation.
You can also add or adjust a device from the AI assistant — for example “add a TAVR valve to project NM” or “insert a French 8 catheter in the aorta of project NM” — which calls the same generators described here.
Continue to Defining Zones.