
Docs /Engineering Workflow
Defining Zones
Zones are regions painted onto your geometry where fluid enters or exits the domain. Zones and boundaries are two separate objects: you paint a zone in the viewer, then create a boundary and attach the zone to it. This tutorial explains the painting workflow and the AI-assisted Auto-Zoning shortcut.
How Zones Work in LeaRes
| Concept | Meaning |
|---|---|
| Zone | A set of surface cells you paint in the viewer, created with Add new zone (Alt+A) |
| Boundary | A named condition that references one zone and carries one or more typed properties |
| Wall (implicit) | Every cell not in a zone — no painting required |
Everything you do not paint is treated as wall automatically; there is no separate wall-painting step.
Tip: Before painting, identify where fluid should enter and where it should leave. Those openings become your zones; the rest of the surface stays wall.
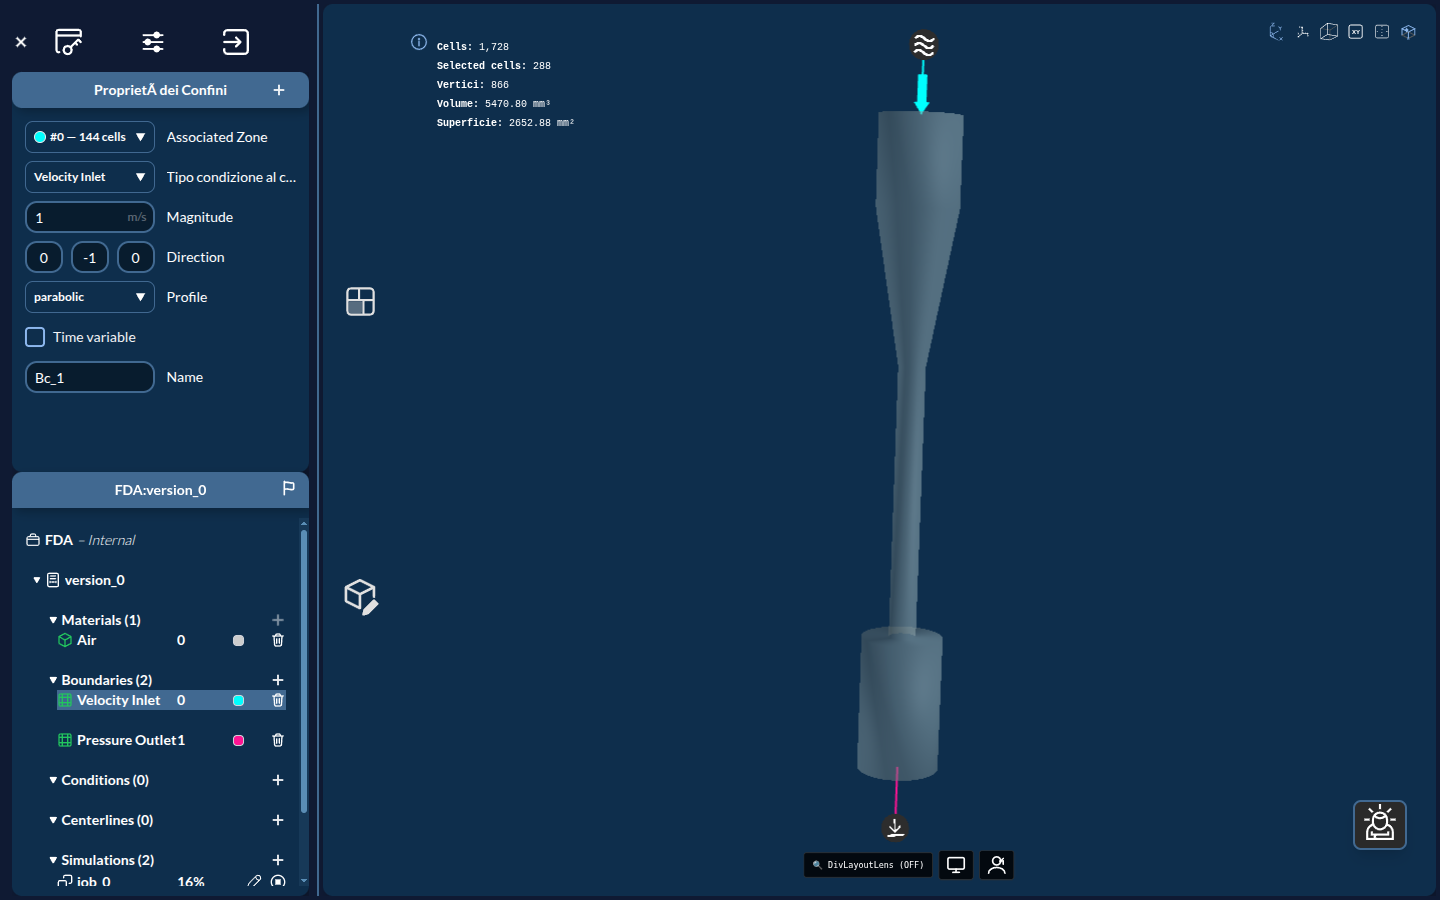
Painting Zones Manually
Step 1: Paint a Zone
- Expand Zoning tools in the viewer toolbar
- Pick a selection mode — solid, face or cell — and a brush size
- Click Add new zone, or press Alt+A
- Hold ALT and click/drag on the geometry to add cells to the active zone
- Alt+Z / Alt+Y undo and redo; Backspace or Alt+C removes the current zone; Remove all zones clears everything
The current zone indicator in the toolbar shows which zone you are painting into.
Step 2: Create the Boundary
- Click + on the Boundaries container (Add new boundary)
- Name it, then pick your zone in the Associated zone dropdown
Step 3: Assign the Type
- Open the Boundary type dropdown — it reads Select until you choose
- Choose the type (for example Velocity Inlet or Pressure Outlet) and fill in its parameters
- Optionally click Add another property to stack a second condition on the same boundary
Note: The same nine base types are offered in every project — see Boundary Conditions: Types. Both Noslip Wall and Freeslip Wall are selectable; you only need them when a wall region must be named explicitly or made slip.
Step 4: Repeat for Each Opening
Add one boundary per opening. A simple pipe, for instance, needs one inlet boundary and one outlet boundary; the cylindrical surface in between stays wall without any action.
Next Steps
Continue to Auto-Zoning.