
Docs /Medical Workflow
Uploading and Viewing DICOM Data
Step 3: Upload DICOM Data
LeaRes accepts:
- DICOM folders and DICOMDIR, and ZIP archives of DICOM
- Volume formats: VTI, NIfTI (
.nii,.nii.gz), NRRD, MHD - 2D images: PNG, JPG
- Non-radiological data: XML (vital signs, ABG, spirometry, ECG) and PDF reports
Upload Process
There is no multi-field upload dialog — a single drop zone handles everything, and the type is detected automatically.
- Select the patient, then open Upload Data from the toolbar
- Drag your file or folder onto the drop zone, or click to browse
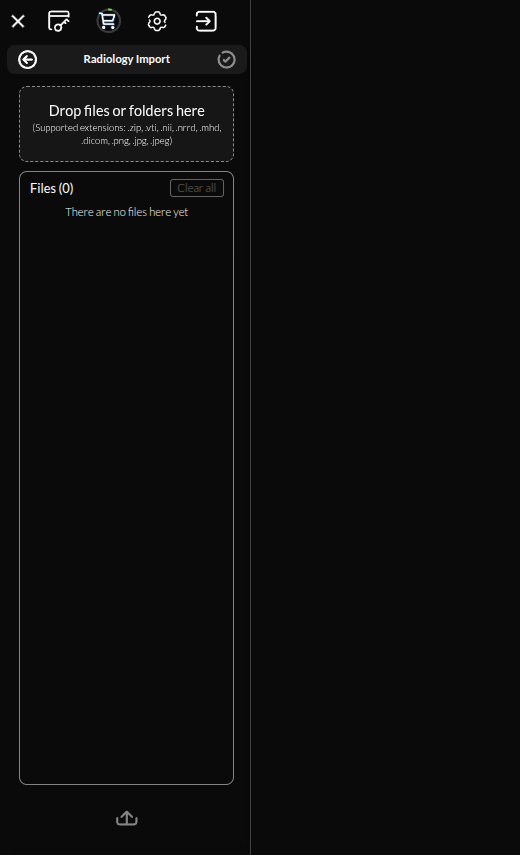
- LeaRes detects what you dropped: DICOM folders / ZIP / VTI → radiological; XML → measurements; PDF → medical report
- Dropping a folder opens the Radiology Importer, which lists the DICOM series it found with their Patient / Study / Series descriptions. Tick the series you want (Select All / Deselect All) and click Load N series.
- Click Upload Data to begin the transfer
Rejected series. Presentation State objects, and series containing fewer than 3 images, are refused by the importer.
Naming. The series name and ID are derived from the source folder or archive name and sanitised server-side — you cannot set them during upload. To rename afterwards, use Edit acquisition name in the Data tree.
Upload Progress
- A progress bar shows upload status
- Large datasets may take several minutes
- You can continue working in other areas while uploading
- A notification will confirm successful upload
Tip: For large datasets (>1GB), compress to ZIP format before uploading to reduce transfer time and ensure all files are uploaded together.
Step 4: View Uploaded Data
Once the upload completes, the data becomes available for viewing:
Opening the Viewer
- In the ActionsTree, expand the event and acquisition
- Click on the series name (e.g., “scan001”)
- The orthogonal slice viewer opens automatically
Understanding the Viewer Layout
The viewer displays three orthogonal views:
- Axial View (top-left): Horizontal slices (head-to-foot)
- Coronal View (top-right): Front-to-back slices
- Sagittal View (bottom-left): Left-to-right slices
- 3D View (bottom-right): Volume rendering or 3D models
Navigating Slices
- Mouse Wheel: Scroll through slices in the current view
- Click and Drag: Pan the view
- Right-Click Drag: Zoom in/out
- Reset View: Click the reset camera icon in the toolbar
Adjusting Contrast
Contrast is set by choosing a tissue preset from the Preset WW/WL dropdown. There is no free-form window/level slider and no click-drag windowing.
Ten presets are available: Lungs, Blood, Blood+contrast, Cardiac, Vascular, Airways, Nasal, Soft tissue, Bone, Skin. Each applies a matching window width/level plus a colour transfer function, to all views at once.
Tip: Separately from the presets, the rendering-mode selector offers MPR, MIP, MinIP, VR and CPR — useful when a single slice view is not enough.