
Docs /Engineering Workflow
Running a Simulation
With geometry, zones, materials, and boundary conditions configured, you’re ready to launch a CFD simulation. LeaRes runs the MOEBIUS lattice-Boltzmann solver. This tutorial covers creating a simulation job, the controls available, launching the run, and monitoring progress.
Creating a Simulation Job
Step 1: Open the Simulations Section
- Open the Simulations section for your project version
- Existing jobs (if any) are listed
Step 2: Add a Job
- Click the + button to create a new simulation job — there is no confirmation dialog
- The new job appears in the list as
job_N XX%, whereNis the job number andXX%is its progress
Step 3: Open the Job
Click the job to open its controls, where you configure and start the run.
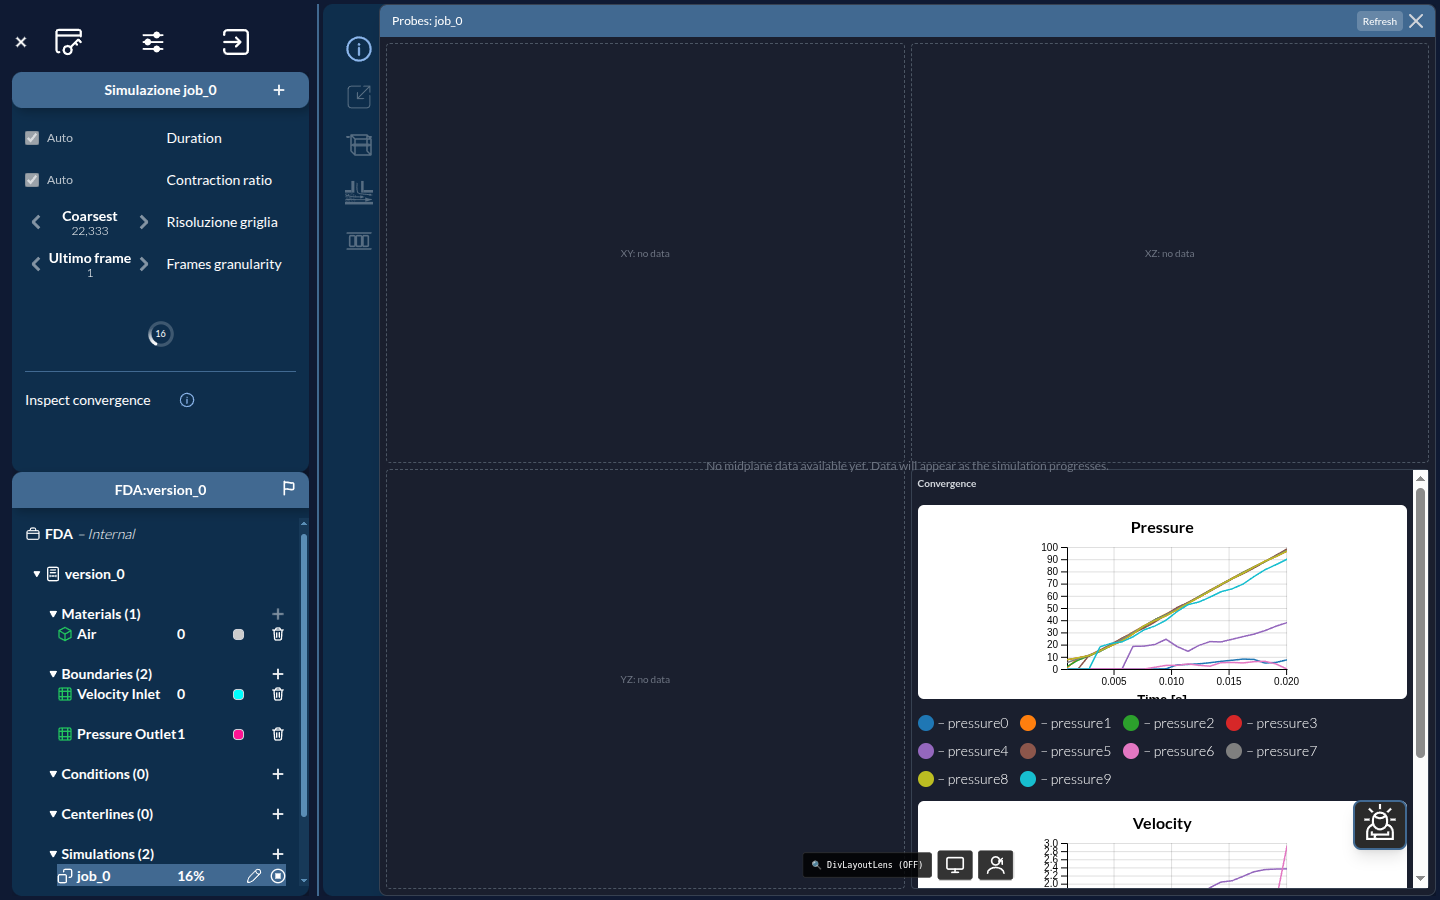
Simulation Controls
The simulation controls expose the parameters that matter for an LBM run.
Duration
How long the simulation runs, entered in seconds.
- Tick Auto to let the convergence autostop end the run once the flow reaches stationarity. This usually saves wall-clock time — and credits — because the run stops as soon as the macroscopic quantities settle rather than at a fixed end time.
Contraction ratio
A text input validated to the range 0–1 (there is no slider).
- Tick Auto to have LeaRes estimate it from a maximum-inscribed-sphere analysis of the mesh, with an extra safety factor when devices are present.
This is not a cosmetic setting: the solver derives Mach = 0.1 × contraction ratio, and the Mach number sets the timestep. It is therefore one of the main levers on both runtime and numerical stability.
Grid resolution
Five levels — Coarsest, Coarse, Medium (default), Fine, Finest — each showing the resulting cell count. Finer resolutions resolve more detail at the cost of longer runtime and more credits.
Demo-tier accounts are limited to Coarsest and Coarse.
Frames granularity
How many time frames are saved for later visualization. The number of frames is shown under each name:
| Setting | Frames saved |
|---|---|
| Last frame (default) | 1 |
| Coarse | 10 |
| Fine | 20 |
| Ultrafine | 40 |
Tip: Use Last frame when you only need the converged result. Choose a higher granularity when you want to animate how the flow develops over time (see Visualizing Results).
Before You Can Launch
The interface enforces two prerequisites, and will refuse the job with a toast if either is missing:
- a material must be committed
- at least one boundary must be defined
Note also that once a simulation exists for a geometry, its materials and boundaries become read-only. To try different conditions, clone the job (see below) or create a new version.
Launching the Simulation
- Set Duration, Contraction ratio, Grid resolution and Frames granularity
- In the Simulate section, click the round launch button (tooltip Launch job). The first click discretises the geometry and then launches; if discretisation is already done, it launches directly.
- Check the Estimated workload card first — it shows expected completion time and credit cost. After the run it switches to Actual workload.
- While discretisation is running you can abort it with the stop button next to the launcher.
Tip: The + button on the Simulation panel is Clone job settings. It duplicates every control into a new job — the fastest way to run a parameter sweep.
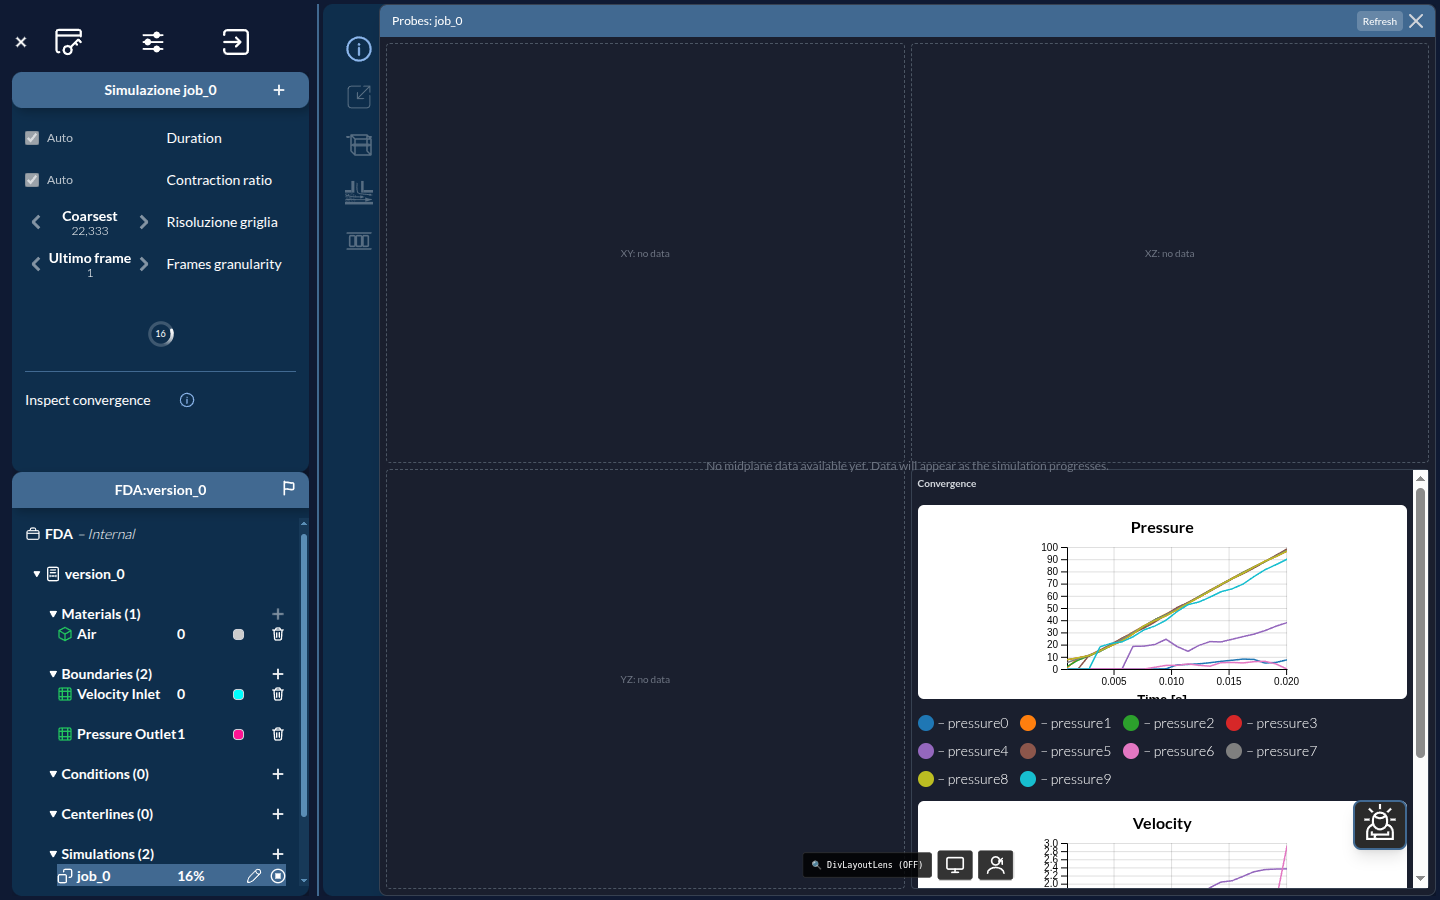
After launch, the job’s progress updates in place as job_N XX%.
Next Steps
Continue to Monitoring and the Solver.